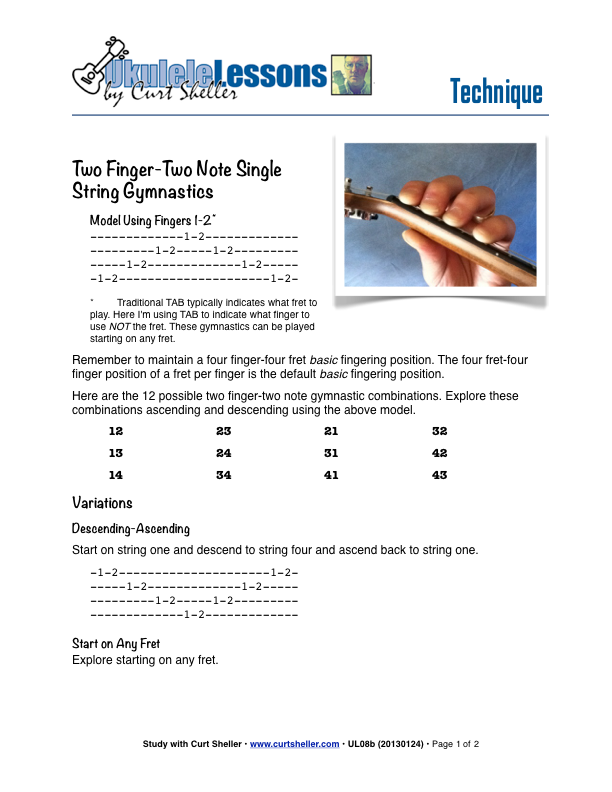
To play the ukulele effectively, your fingers need physical strength, agility, flexibility and coordination. This two finger-two note drill is designed to get your hands in shape. These exercises work no matter what style of ukulele you play or want to play.
Two Finger-Two Note Basic Single String Fingering Drills for `Ukuleleon: Bluesky • facebook • twitter (X)


To play the ukulele effectively, your fingers need physical strength, agility, flexibility and coordination. This two finger-two note drill is designed to get your hands in shape. These exercises work no matter what style of ukulele you play or want to play.
Available for Premium Site Access Plans Only
Follow the series of finger drills in the lesson download.
Common tips applicable to ALL finger drills.
As these drills don't really sound all that musical. They can be played while watching TV or riding a stationary bike. Their main goal is to get in a lot of reps and develop your chops. For a bit of musicality you can introduce a rhythmic component, simply by making some of the notes longer and some shorter.
However, even if done as part of another activity, you should focus on the drills.
- PLAY RIGHT BEHIND THE FRET, but not on it. Your finger should feel the fret but not be over the fret. This is the area that takes the least amount of pressing and pressure to get a good-sounding note. It allows you to come on and off notes quickly. Single notes right behind the frets are possible for ALL notes. For chords, get as close as possible if another adjacent finger on the same fret has taken that role.
- Keep your finger tips pointing to the strings when not being used. That IS their job, to play notes. Not point to the ceiling, floor, or walls. We want
Quiet Hands
and NOT fingerFlying
all over the place. - Keep your thumb in the position of strength and support — Behind the Neck! UkuleleLesson: Proper Fretting Hand Placement
- Keep your fingers close to the strings, ready to go. Your fingers need to be over the frets and current string(s) that they are currently playing or going to play. Four fingers can cover four frets — stay in position ready to go.
- Always play in-control and accurate. This is easy to accomplish if you do the drills SLOW, accurate, and in-control.
Fast is nothing than, slow quicker.
- Say the finger combination that you are working on to insure the fingers are actually doing the drill you think you are doing.
- If the next note is higher and on the same string, keep the current finger down – No need to release the string just to press is down again.
- Do ALL drills Ascending (Nose to Toes) and Descending (Toes to Nose), the same drill. 1234 ascending and 4321 descending are different drills. There are 4 single fingers, 12 two finger combinations, 24 three finger combinations, and 24 four finger combinations.
- Start on different frets.
- Start on string one and play descending then ascending.
- Do a sub set of the strings. Get really good at strings one and two then add string three, etc. Build on a solid foundation.
- Try combinations of the 2, 3, and 4 finger drills. This one is hard to track if doing more the two different combinations at a time, so reading the combinations might be helpful.
Related Lessons, Videos, Lesson Series, Songs, Books & Reference Charts, Resources & Assets, Workshops are below.


.jpg)